by RailKevin
Hi all. I thought I would post some pics of my HO scale shelf switching layout based on Lance Mindheim's book How To Build A Switching Layout. The layout is not complete, and I have run into a problem I hope you guys can help me with. So, let the short tour begin.
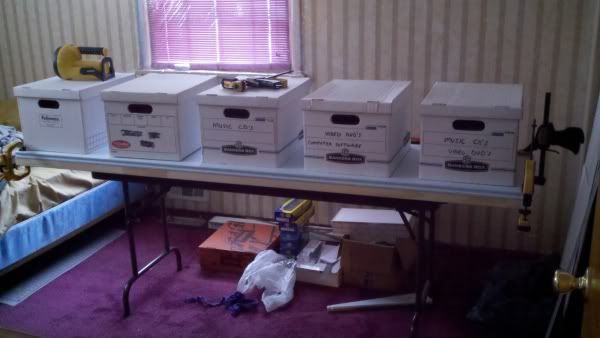
The layout is constructed on a custom-made hollow core door (18" x 80"). I went a few inches wider than Lance proscribed so I could get a little extra space around the team track (siding near the front). I then proceeded with the book's instructions to the letter.
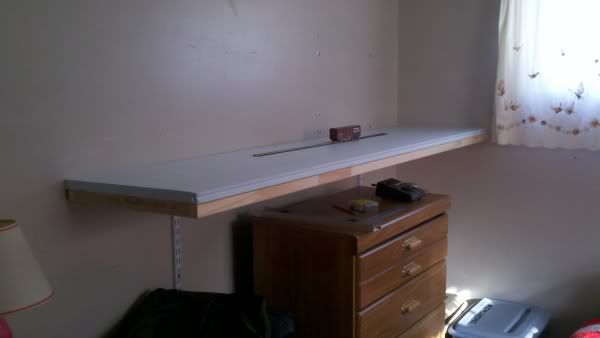
As you can see in the photo above, I glued a 1" section of foam board to the door. I used a liberal dose of foambaord adhesive and placed evenly distributed weight across the top. The clamps were to ensure the board would not slide off.
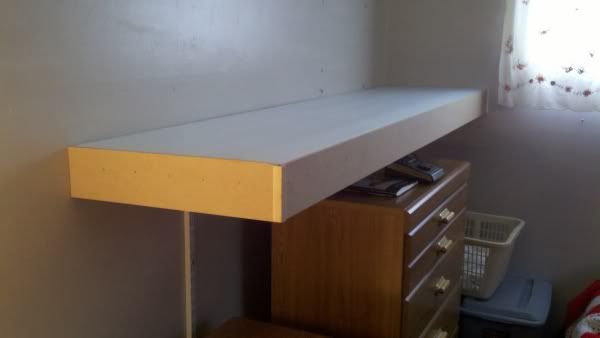
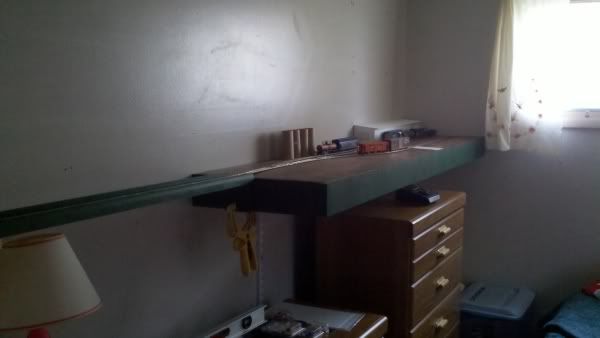
This photo shows the extent of my modelled world. When I say shelf layout, I mean just a shelf! This location is in my bedroom, as I do not presently have space elsewhere for a layout of any size. This is primarily the reason for purchasing Lance's book. Not only is the size just right, but so is the purpose. In Lance's blog, he maintains that many modelers get bored with their layouts not because of small size or simplicity, but rather they are too big and complex.
Just adding a fascia makes a world of difference in the presentation of the layout. Now it is starting to resemble a piece of furniture that actually belongs in the room.
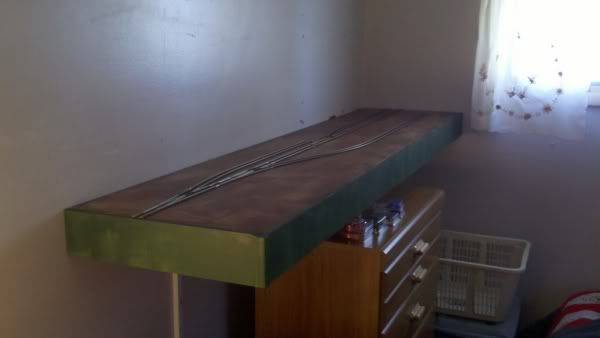
Of course, paint helps, too! (The fascia got a second coat later). You can now see the track plan. Just three sidings for industries is all it takes to have an interesting layout. Not exactly something I understood well before reading Lance's thoughts on the subject. I also experimented with an XTrackCad version I created to test the concept. I was very pleased to discover this type of layout is all I need to keep myself interested in this hobby.
Please note the small dimple in the front corner of the fascia. This was done to accomodate an unseen problem with that entire side of the foamboard. That edge has a depression (or compression?) along its length. I would have cut it off if I had noticed it sooner.
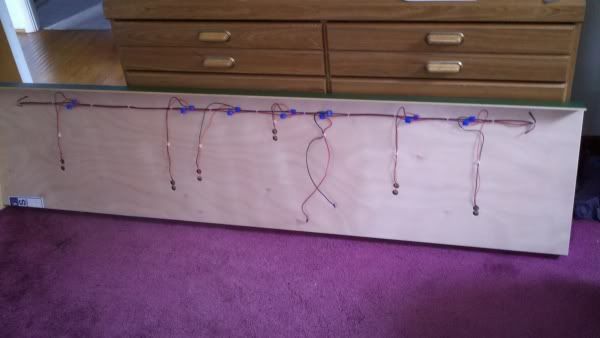
The layout is now wired for operation. A 14-gauge bus runs along the front edge, to which 18 gauge track feeder wires are attached. The bus wires are taped at the ends to prevent electricity from leaking out. The wires hanging down near the middle are the power pack leads.
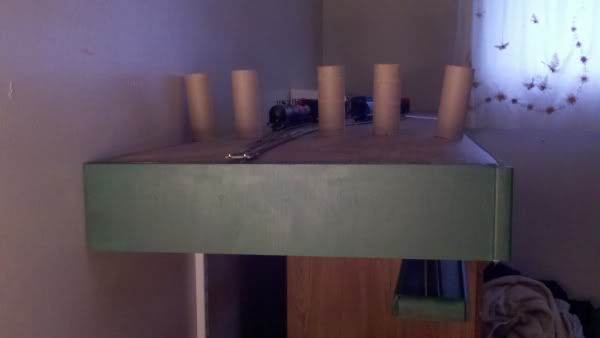
With the addition of a staging cassette, the layout is now ready for operation. I also added a warehouse mockup and TP storage tanks to enhance realism.
Using the adage, "You can not have too much staging," I decided to make my staging cassette as long as possible. It is 64" long, and will accommodate a train length that contributes to the realism of the layout. That is to say, I can "bring in" or "take out" as many cars as I need without the interefence of a limited switch lead.
And now for my problem. It seems that over a period of a few weeks, the foamboard developed a "crest" in the middle. The track at the edge was originally flush with the fascia board. In fact, everything was flush except the front edge as described above. It does not appear to have gotten any worse in the last two weeks. Still, I am at a crossroads. I would like to finish the scenery and call it a completed layout. I am not sure if I could just replace the foamboard without a lot of trouble. I am hoping you guys can shed some light on what happened and maybe suggest how to fix it (or live with it).
The layout is constructed on a custom-made hollow core door (18" x 80"). I went a few inches wider than Lance proscribed so I could get a little extra space around the team track (siding near the front). I then proceeded with the book's instructions to the letter.
As you can see in the photo above, I glued a 1" section of foam board to the door. I used a liberal dose of foambaord adhesive and placed evenly distributed weight across the top. The clamps were to ensure the board would not slide off.
This photo shows the extent of my modelled world. When I say shelf layout, I mean just a shelf! This location is in my bedroom, as I do not presently have space elsewhere for a layout of any size. This is primarily the reason for purchasing Lance's book. Not only is the size just right, but so is the purpose. In Lance's blog, he maintains that many modelers get bored with their layouts not because of small size or simplicity, but rather they are too big and complex.
Just adding a fascia makes a world of difference in the presentation of the layout. Now it is starting to resemble a piece of furniture that actually belongs in the room.
Of course, paint helps, too! (The fascia got a second coat later). You can now see the track plan. Just three sidings for industries is all it takes to have an interesting layout. Not exactly something I understood well before reading Lance's thoughts on the subject. I also experimented with an XTrackCad version I created to test the concept. I was very pleased to discover this type of layout is all I need to keep myself interested in this hobby.
Please note the small dimple in the front corner of the fascia. This was done to accomodate an unseen problem with that entire side of the foamboard. That edge has a depression (or compression?) along its length. I would have cut it off if I had noticed it sooner.
The layout is now wired for operation. A 14-gauge bus runs along the front edge, to which 18 gauge track feeder wires are attached. The bus wires are taped at the ends to prevent electricity from leaking out.
With the addition of a staging cassette, the layout is now ready for operation. I also added a warehouse mockup and TP storage tanks to enhance realism.
Using the adage, "You can not have too much staging," I decided to make my staging cassette as long as possible. It is 64" long, and will accommodate a train length that contributes to the realism of the layout. That is to say, I can "bring in" or "take out" as many cars as I need without the interefence of a limited switch lead.
And now for my problem. It seems that over a period of a few weeks, the foamboard developed a "crest" in the middle. The track at the edge was originally flush with the fascia board. In fact, everything was flush except the front edge as described above. It does not appear to have gotten any worse in the last two weeks. Still, I am at a crossroads. I would like to finish the scenery and call it a completed layout. I am not sure if I could just replace the foamboard without a lot of trouble. I am hoping you guys can shed some light on what happened and maybe suggest how to fix it (or live with it).